

HƯỚNG DẪN MIGRATE DOMAIN CONTROLLER FROM SERVER 2008 TO SERVER 2012
- Tuan Nguyen

- Sep 21, 2018
- 3 min read

Step 1: Upgrade Schema Version 47 to 69
Bỏ đĩa cài đặt server 2012 vào server 2008.
Trên server 2008 mở cmd với quyền Administrator, di chuyển đến ổ đĩa chứa source cài server 2012
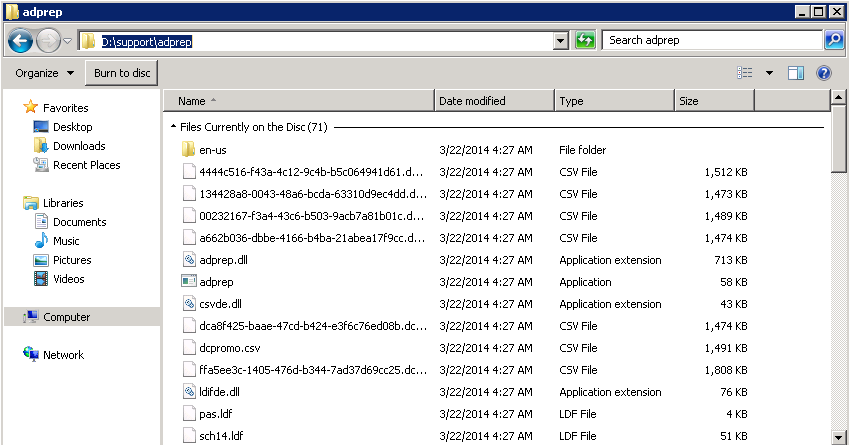
>d:
>cd support\adprep
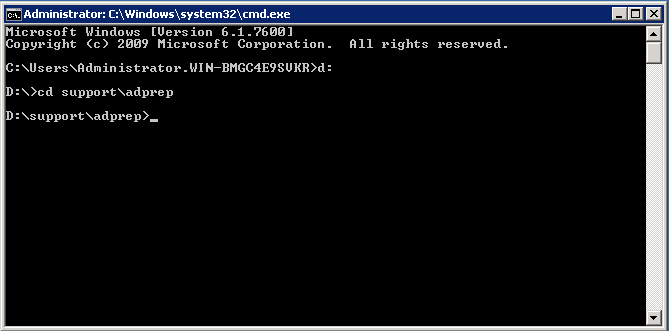
>adprep /forestprep

Nhập c rồi bấm enter


Step 2: Cài đặt ADDS trên server 2012
Vào Server Roles > Manage > Add Roles and Features

Tick chọn Active Directory Domain Services

Đợi cài role xong vào Promote server 2012

Nhập domain và password admin trên server 2008


Tạo password restore domain

Chọn tên của server 2008

Tiếp tục nhấn Next > Install đợi quá trình cài đặt xong server sẽ khởi động lại.
Step 3: Transfer FSMO role từ server 2008 qua 2012
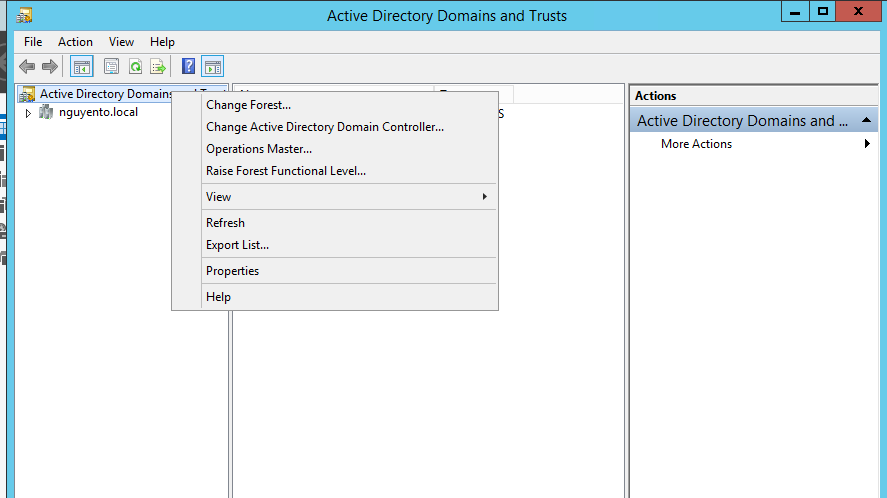
Trên server 2012 vào Server Manager > Tools > Active Directory Domain and Trusts

Click chuột phải vào Active Directory Domain and Trust > Change Active Directory…

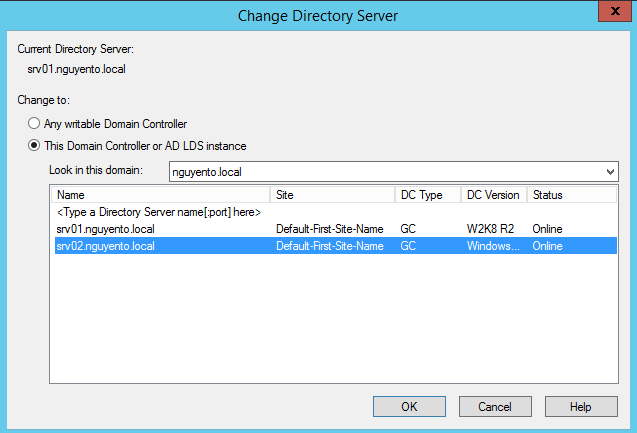
Tick vào ô This Domain Controller or AD… > Chọn name của server 2012 > OK

Click chuột phải vào Active Directory Domain and Trust > Operations Master…
Chọn Change > Yes > OK

Step 4: Transfer RID, PDC, Infrastructure
Trên server 2012 vào Server Manager > Tools > Active Directory Users and Computers

Click chuột phải vào Active Directory Users and Computer > All Tasks > Change Domain Controller…

Tick vào ô This Domain Controller or AD… > Chọn name của server 2012 > OK
Click chuột phải vào Active Directory Users and Computer > All Tasks > Operations Maters…

Tab RID bấm Change
Làm tương tự với tab PDC Infrastructure

Step 5: Transfer Schema master FSMO role từ server 2008 đến 2012
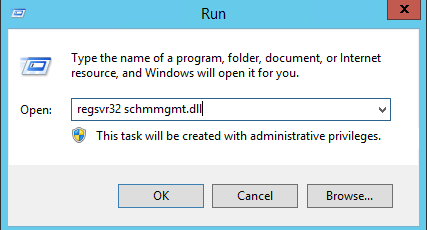
Trên server 2012 bấm tổ hợp phím Windows Logo + R nhập lệnh: regsvr32 schmmgmt.dll > Enter > OK

Bấm tổ hợp phím Windows Logo + R gõ: mmc
Vào File > Add/Remove Snap-in…

Chọn Active Directory Schema > Add > OK


Click chuột phải Active Directory Schema > Change Active Directory Domain…

Tick vào ô This Domain Controller or AD… > Chọn name của server 2012 > OK

Click chuột phải Active Directory Schema > Operations Master…

Chọn Change > Yes > OK

Tắt mcc > No
Step 6: Cài DHCP Server trên server 2012
Vào Server Roles > Manage > Add Roles and Features > Chọn DHCP Server để cài.
Step 7: Migrate DNS role từ server 2008 đến 2012
Trên server 2012 vào card mạng, trỏ Preferred DNS server về chính nó
Trên server 2008 vào DHCP Server chỉnh lại DNS Servers trỏ về ip của server 2012 và chỉnh lại card mạng phần Preferred DNS server trỏ về ip của server 2012

Step 8: Migrate DHCP role từ server 2008 đến 2012
Trên server 2012 mở Windows Powershell với quyền Administrator gõ các lệnh sau:
Tạo thư mục export trong ổ C:\
> md c:\export

Tạo thư mục backup trong C:\export
> md c:\export\backup

Xuất file lease từ server 2008 (srv01.nguyento.local) vào server 2012
> Export-DhcpServer -ComputerName srv01.nguyento.local -Leases -File c:\export\leases.xml -Verbose

Import file lease vào server 2012 (srv02.nguyento.local)
> Import-DhcpServer -ComputerName srv02.nguyento.local -Leases -File C:\export\leases.xml -Verbose
BackupPath: c:\export\backup
Chọn Y > Enter

Trên server 2012 vào Server Manager > Tools > DHCP > Click chuột phải DHCP > Add Server
Tick chọn authorized DHCP server > Chọn server 2008 > OK

Click chuột phải server 2008 > Unauthorize > Yes

Click chuột phải server 2012 > Authorize

Click chuột phải vào server 2012 > All Tasks > Restart

Step 9: Demote Server 2008
Vào run gõ dcpromo > Enter
Next > Next

Vào gỡ bỏ domain trên server 2008 > Done


Comments